Now I decided to work on the stripboard configuration....Where to cut tracks and put in links....To make it all work with the 15 pin connector.....
So I knocked a quick drawing up.....
► Show Spoiler
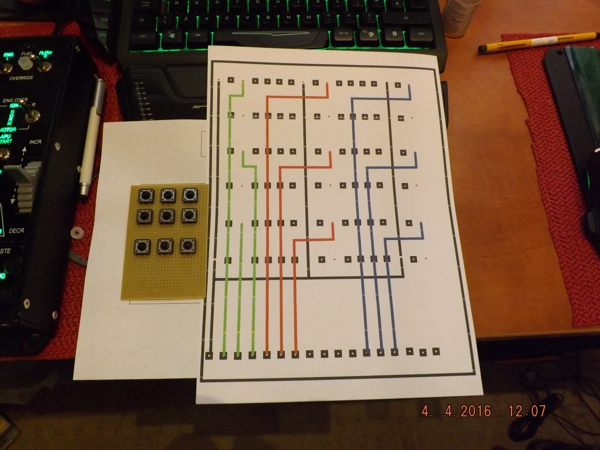
- cont26.jpg (236.93 KiB) Viewed 2397 times
Looking at it I realised I had made a mistake as the links I had worked out were on the wrong side of the board and would have to go under the button base to make it work.....Of course nothing can get under the buttons as they are flush with the board......Dickhead..

This also meant I had to alter the button layout on the board and move it all down a bit to give me extra room above to put the links...
Then I stumbled across a rather nice stripboard template for excel.....So I used that to work it out.....
► Show Spoiler
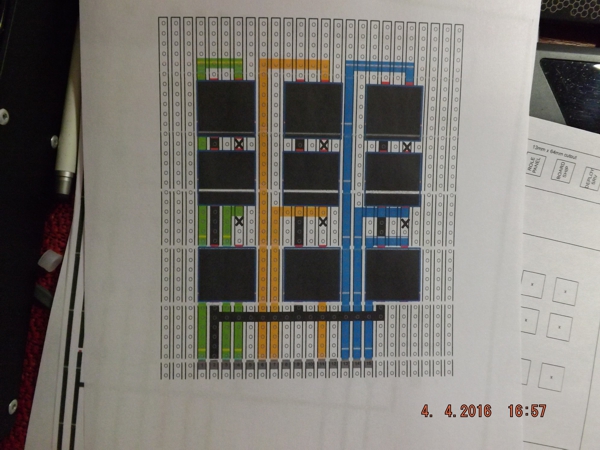
- cont27.jpg (230.12 KiB) Viewed 2397 times
That should do for that part of the panel.......
Searched high and low and the only soldering irons I could find was a really old one with a burnt out tip and a 100w pistol type one...No good for board work.........I do have an 8w battery one....But that has a very fine tip on and is for very intricate stuff....It did not heat the switch legs up enough to get a good solder flow......
Seeing as it's my birthday next month I treated myself to a new one.....Not top of the range.....Just a cheapie...But it should do for what I want......
► Show Spoiler
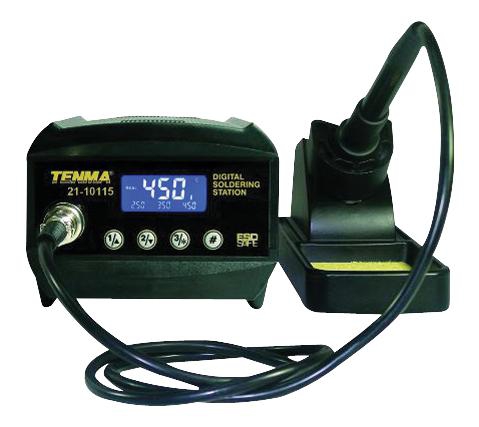
- cont28.jpg (73.12 KiB) Viewed 2397 times
I would have bought myself a normal one if I was just soldering the buttons.....But I intend to solder to the interface board for voltage to the LED's and I really do not want to muck that one up......
Should be here later this week...Then to brush up on my soldering skills.....
Toodily Pip.........


